13 Certificate Designer
Upon completion of an induction, a Certificate of Completion is automatically generated using the default template.
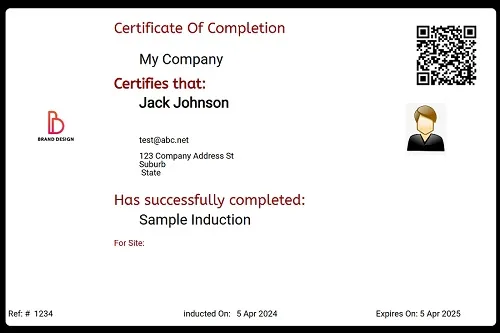
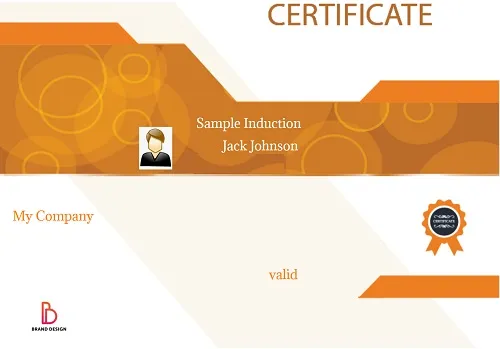
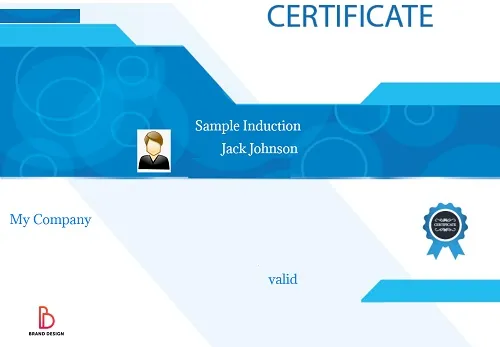
Available Templates
There are a few dosen available designs to choose from.


But if you are on ‘Ultra’ or ‘Ultra +’ package you can design your own Certificate of Completion or ID card.
To try out “Certificate Designer” go to ‘Account Settings’ then ‘Advanced Settings’.
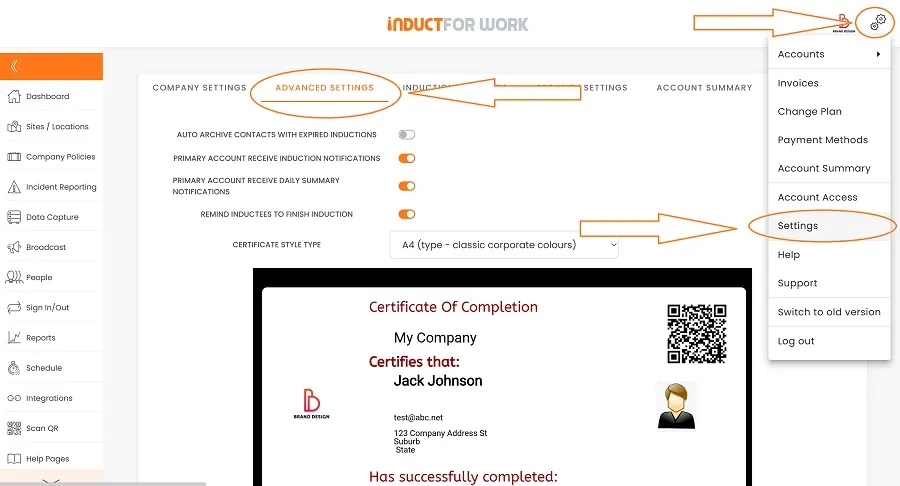
From the dropdown menu of all available templates, select ‘Custom’.

Next, we proceed to ‘Open Certificate Designer’.

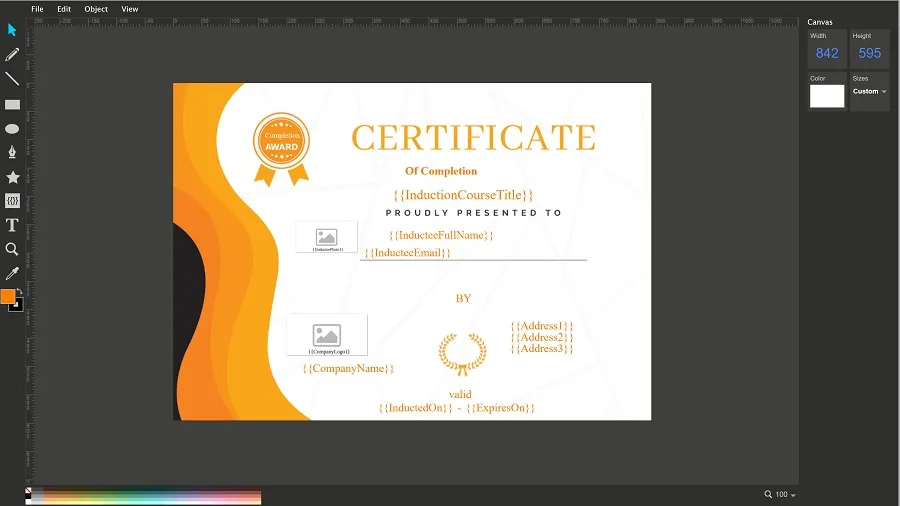
In the Edit mode of the Certificate Designer, three main sections are visible.
At the top, you will find the menus: File, Edit, Object, and View.
On the left side, there are tools available: Select, Pencil, Line, Square, Ellipse, Path, Shape Library, Templates, Text, Zoom and Eye Dropper.
To the right, you can adjust the Canvas Size, use the Colour Tool and set Custom Sizes.
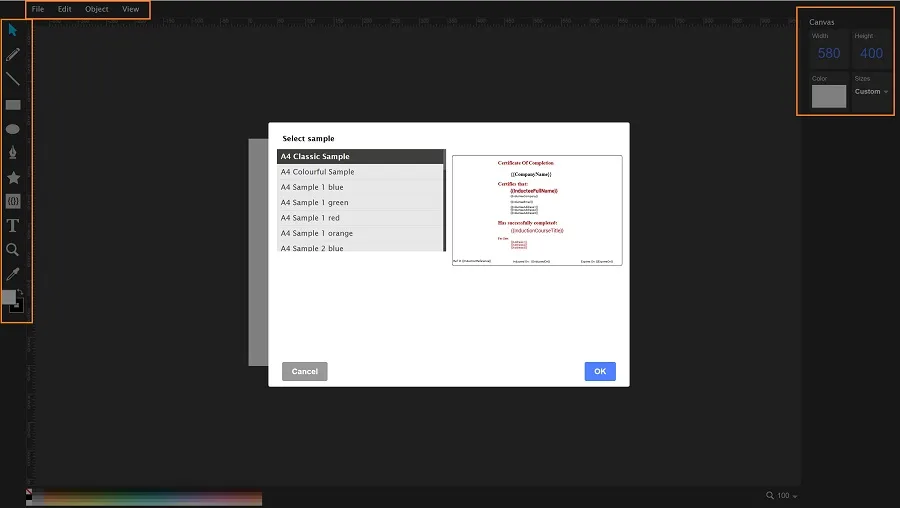
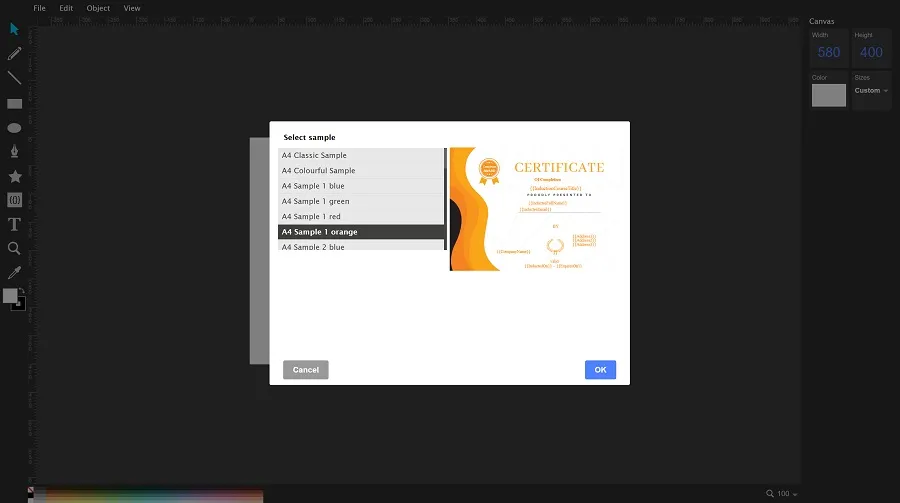
When beginning your design, you have the option to either select a template or start from scratch. If you opt for a template, choose your preferred one from the dropdown menu and click ‘OK’.
You have entered Edit Mode. Begin customizing the certificate by dragging and dropping specific fields, updating the certificate size, repositioning, and adding images, among other actions.
Once you are finished making changes click on ‘File’ and ‘Save’.
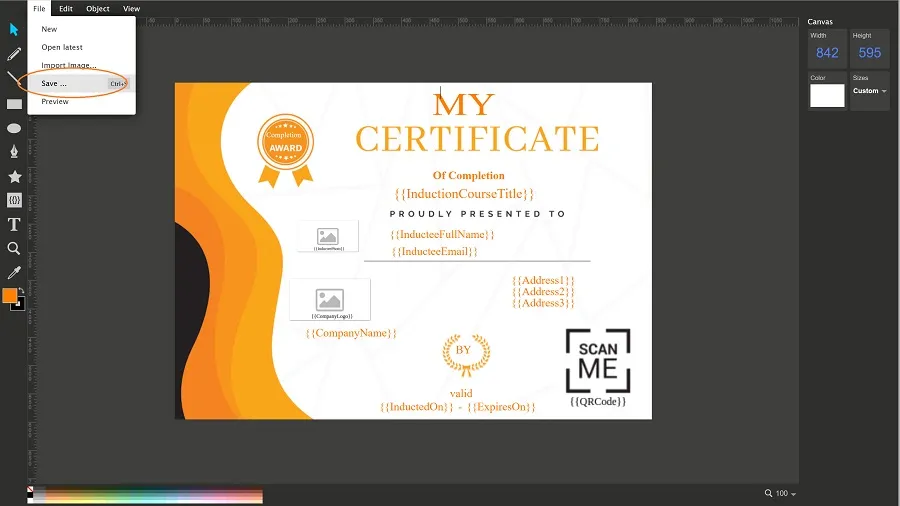
Your new custom certificate will now substitute the generic one you were using previously.

This brings us to the end of this Training Session. Please continue to Session #14 to learn how to use Incident Reporting. Thank you.