15 Sign In Out
Let’s quickly review how the ‘Sign In Out’ process operates.
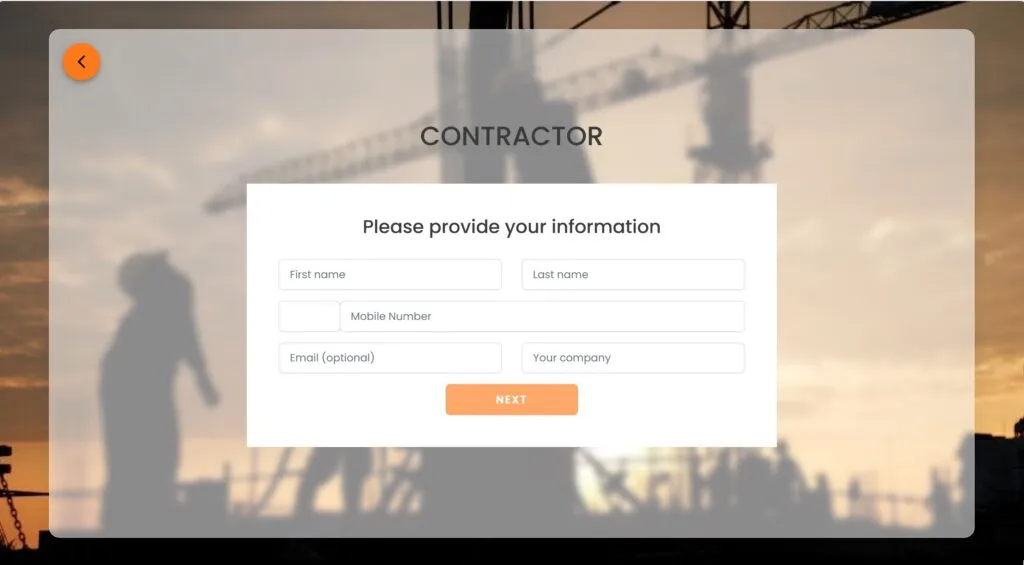
Electronic “sign-ins” are executed by capturing and documenting an individual’s identity and presence through Induct For Work system.
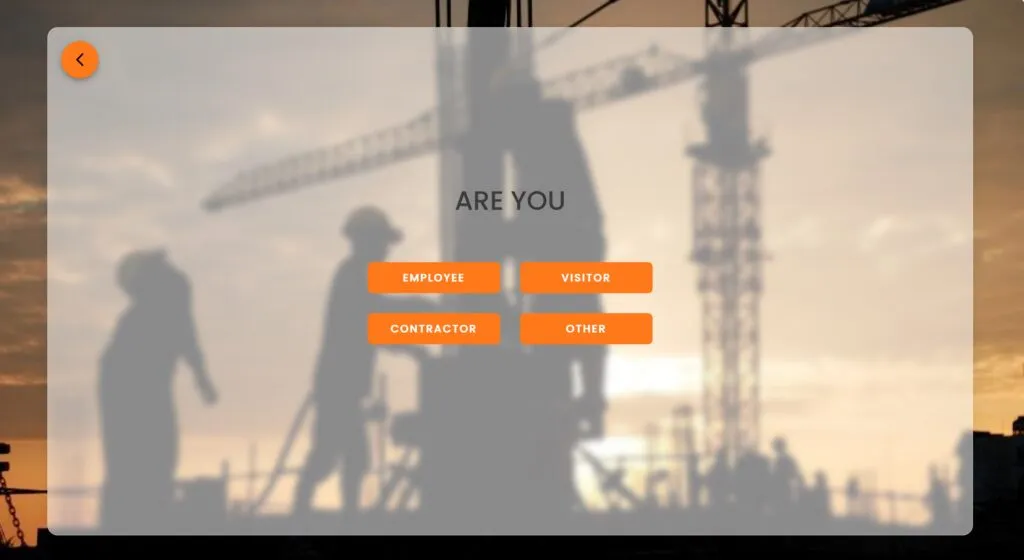
Identification: The initial step involves identifying the person who needs to sign in. This may require inputting a username, employee ID, or employing a biometric identifier like a fingerprint, facial recognition, or iris scan.
Verification: After the individual’s identity is submitted, the system authenticates it against a pre-existing database of approved users. This step may include the verification of credentials such as passwords, PINs, or biometric patterns.
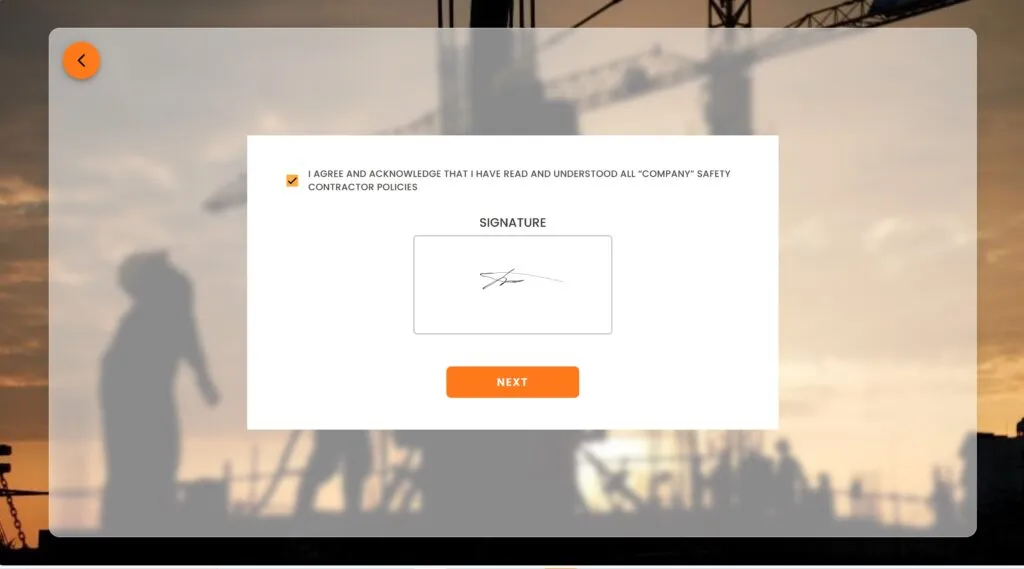
Logging: Once the identity is confirmed, the system records the sign-in occurrence, noting pertinent details like date, time and location. This data can be stored on the local device or sent to a central server for records and analysis.
Reporting and Analysis: The information gathered from electronic sign-ins serves various objectives, including attendance tracking, compliance reporting, security surveillance and performance evaluation.
Activating Sign In Out
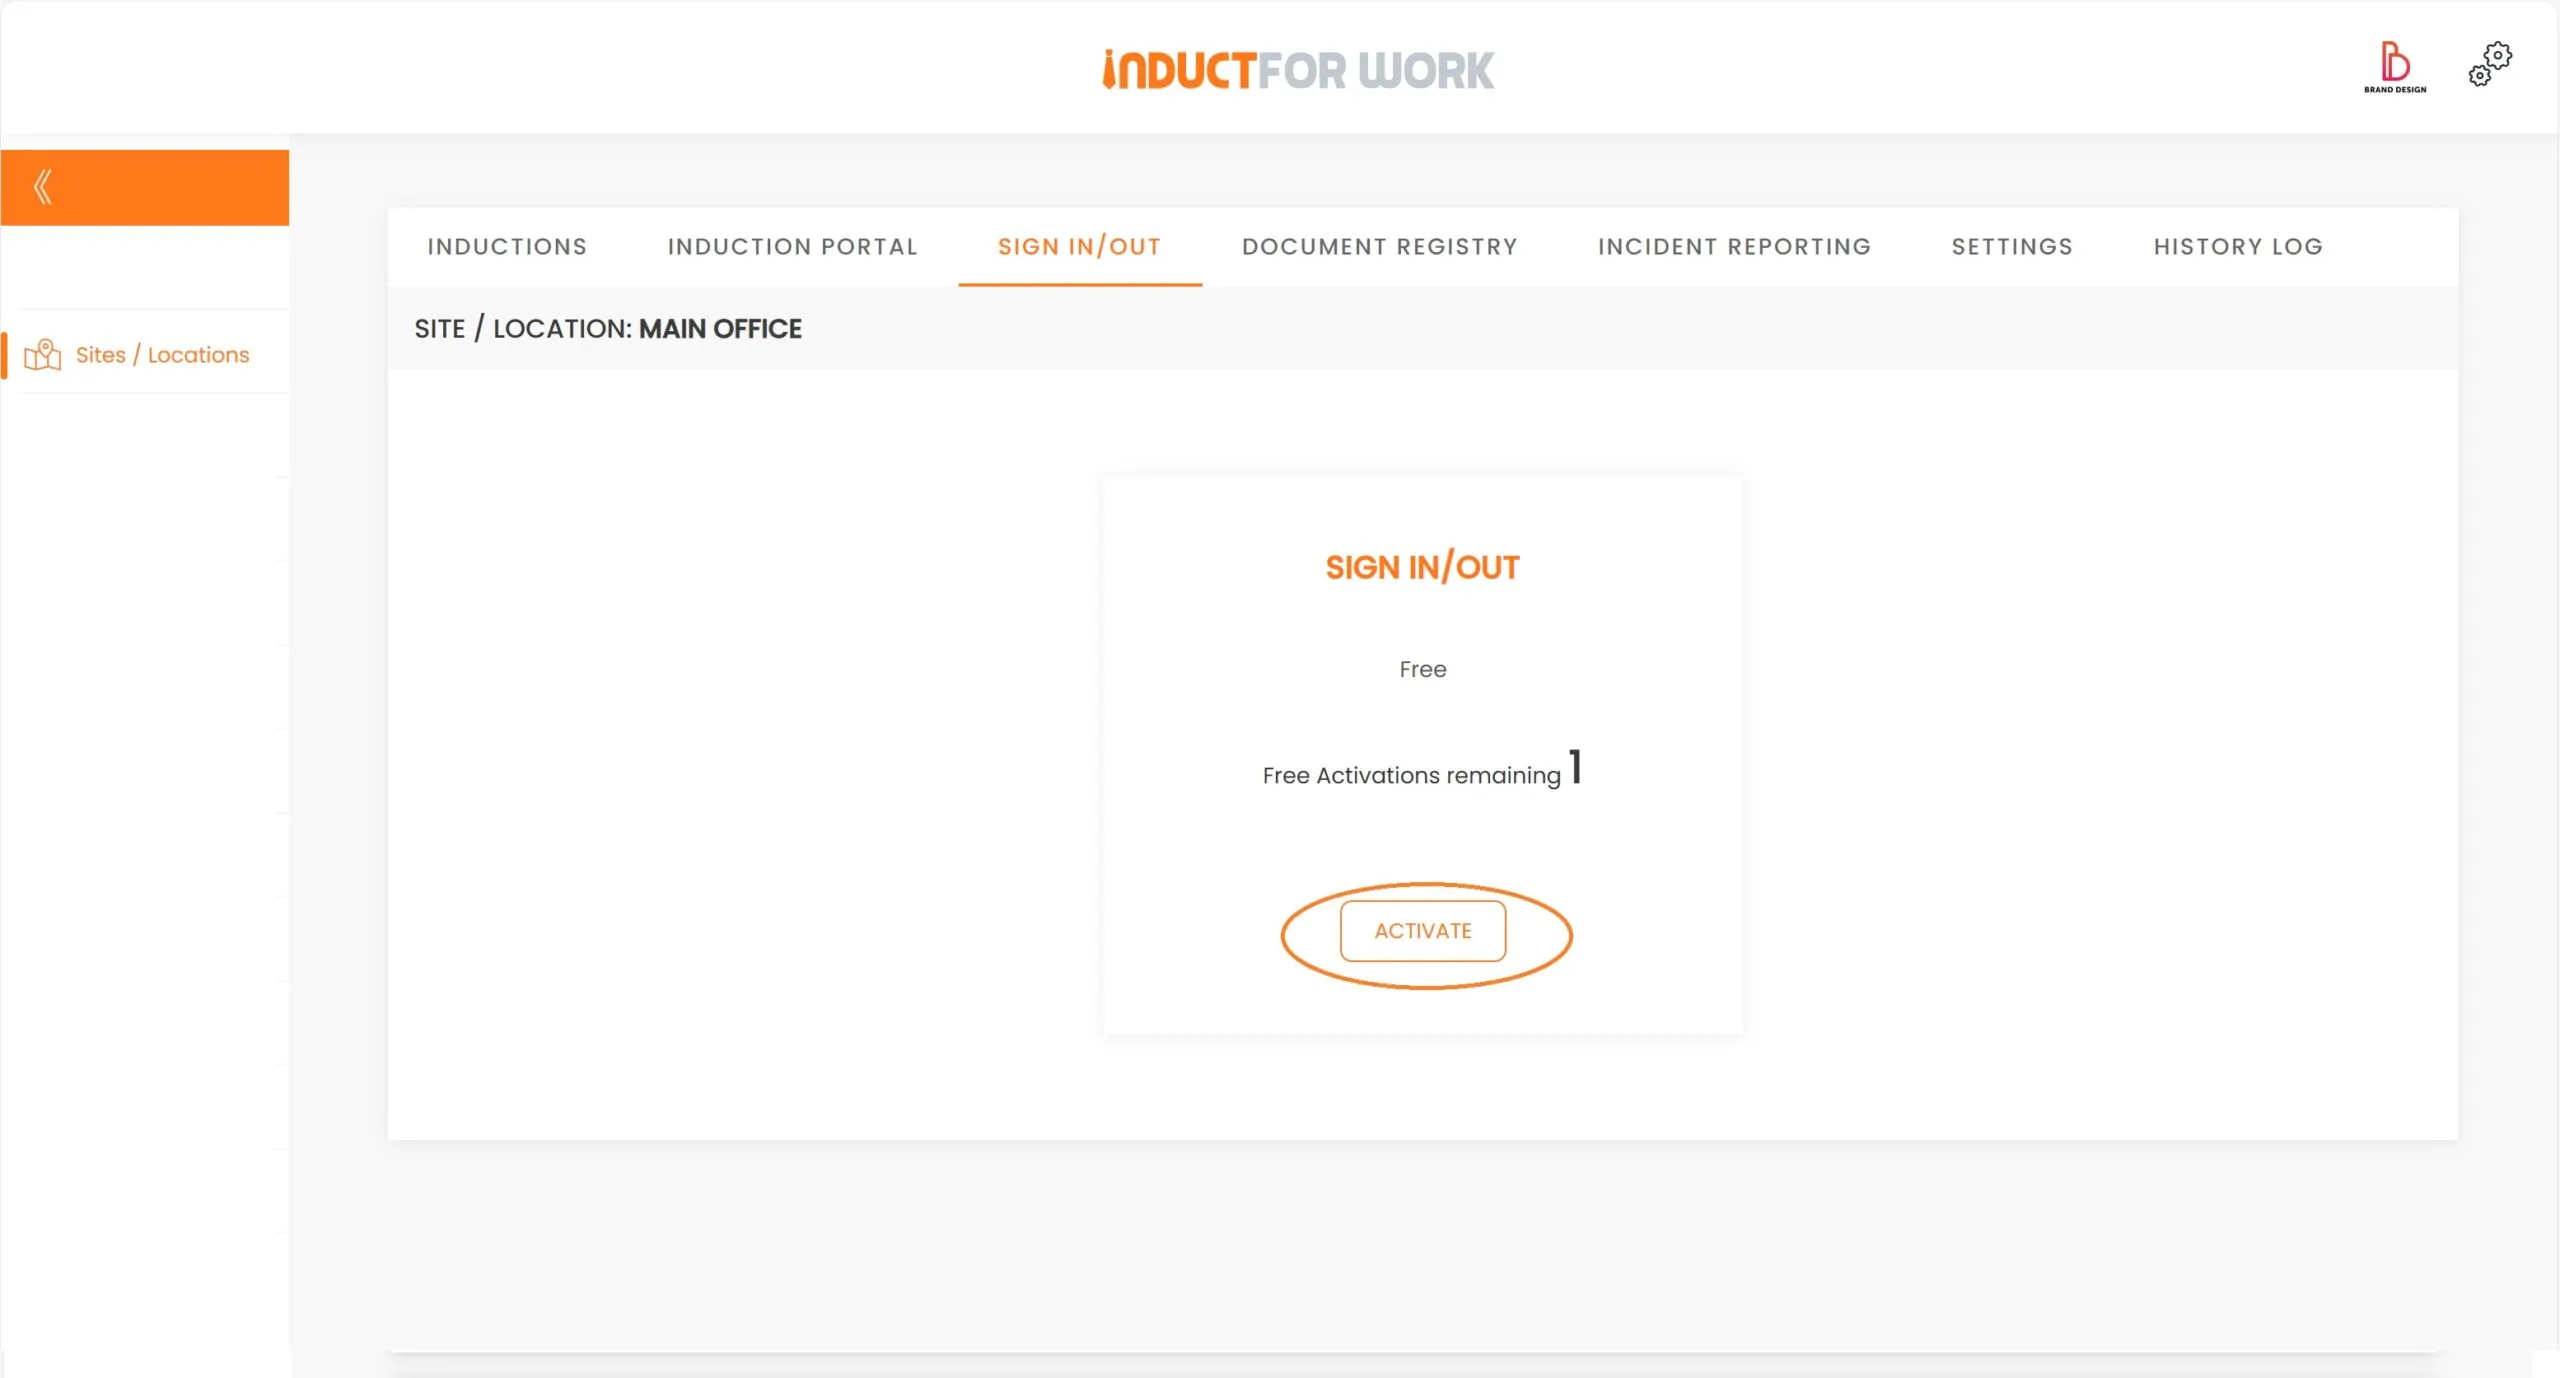
Navigate to ‘Sites/Locations’ and select ‘Sign In Out’.

The ‘Sign In Out’ feature is available free of charge. Many paid subscriptions offer one ‘Sign In Out’ Portal at no additional cost. To activate it, simply click ‘Activate’.
Once activated, you can select the recipients for notifications when your workers sign in and out.
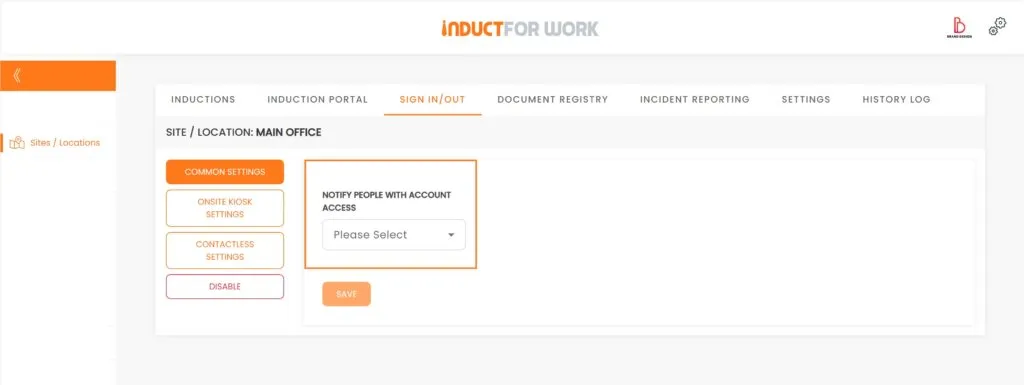
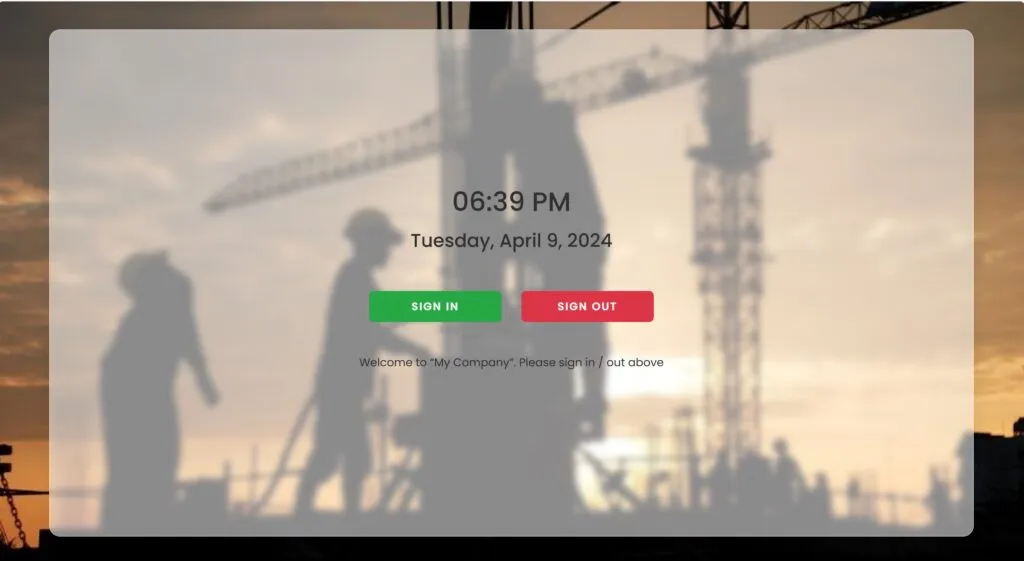
The following features are ‘Onsite Kiosk Settings’ and ‘Contactless Settings,’ which serve as your Sign-in Portals.
Please note that you can customize the background image with your own by navigating to the ‘Induction Portal Advanced Settings’ section.
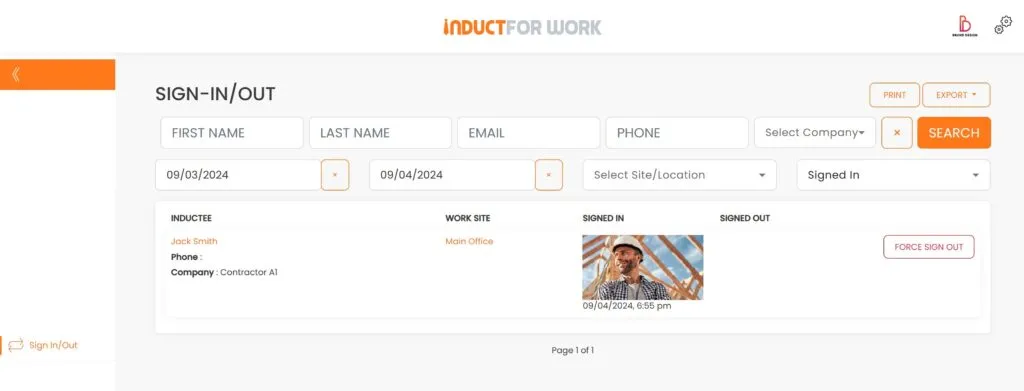
Let’s examine how administrators view their Admin Sign In Out Dashboard. Administrators can filter all sign-in entries by user details, dates and site locations.
This brings us to the end of this Training Session. Please continue to Session #16 to see how to use Broadcast functionality. Thank you.