8. Induction Portals
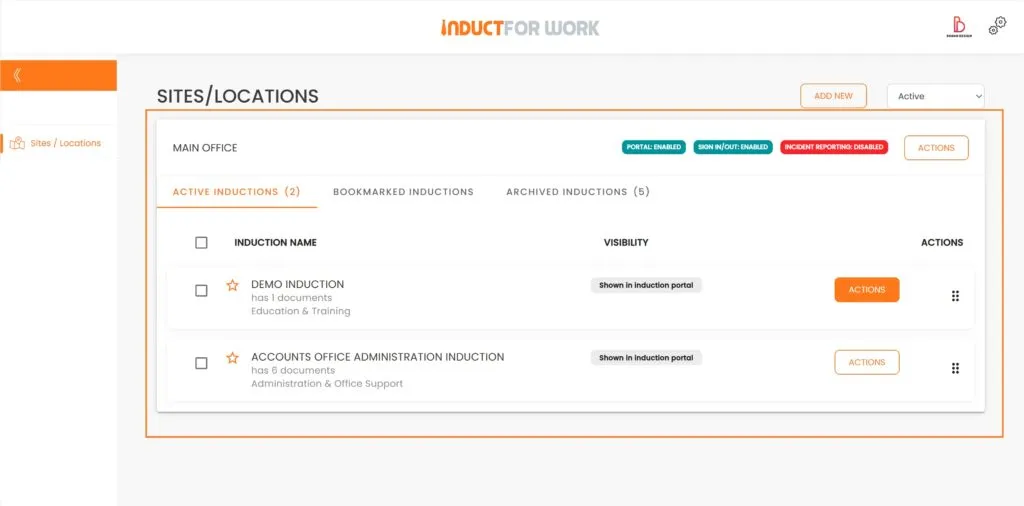
A Portal is a section within your online account designated for storing your Inductions. Each Portal possesses a unique URL and is secured with a password to block unauthorized access.
When users navigate to your Portal, they can access and engage in your Induction courses. The following is a representation of how a Portal is displayed within your admin account.
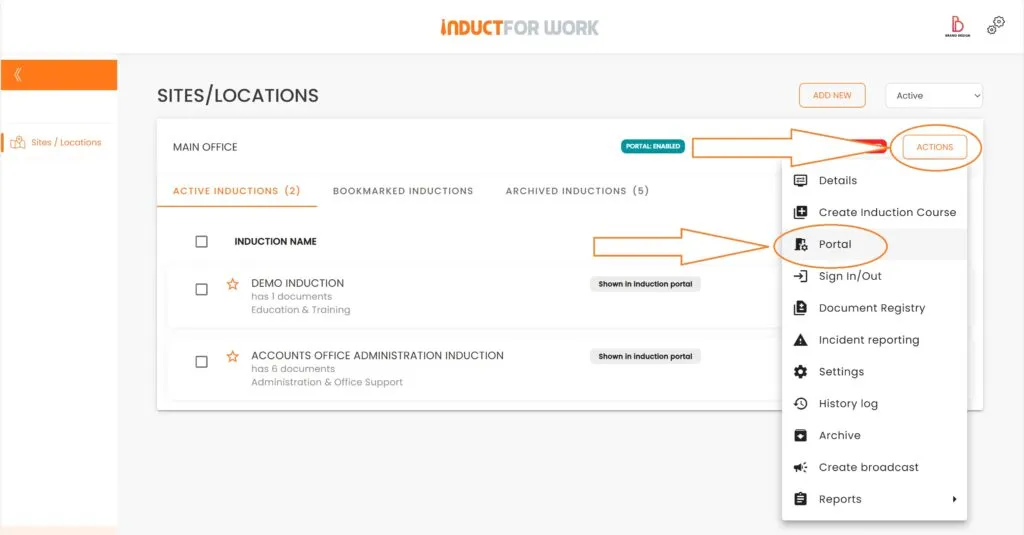
Explore the available options within your Portals by navigating to ‘Actions’ and selecting ‘Portal’.
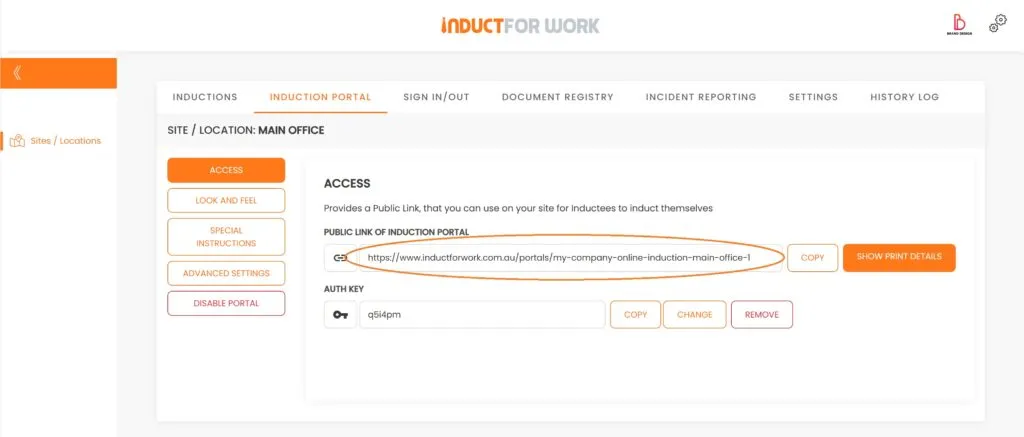
All our Portal Settings can be found here, along with our Portal URL. When this URL is copied into a different browser, this is the view that our users will see.
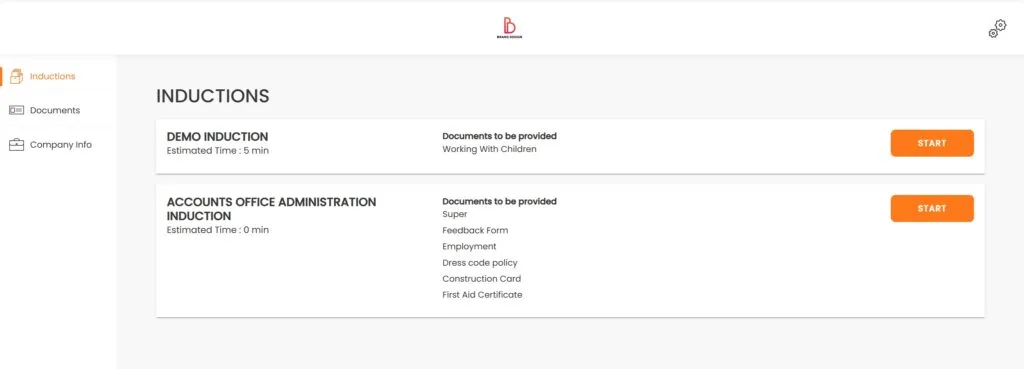
The Portal is displayed to users in the format below.
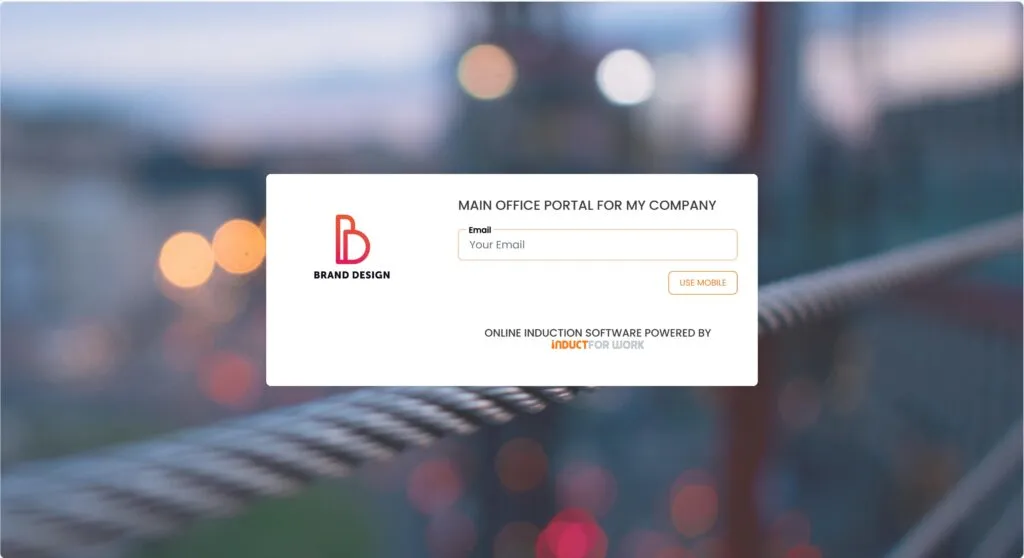
Upon logging in, users will be able to view all the available and visible inductions.
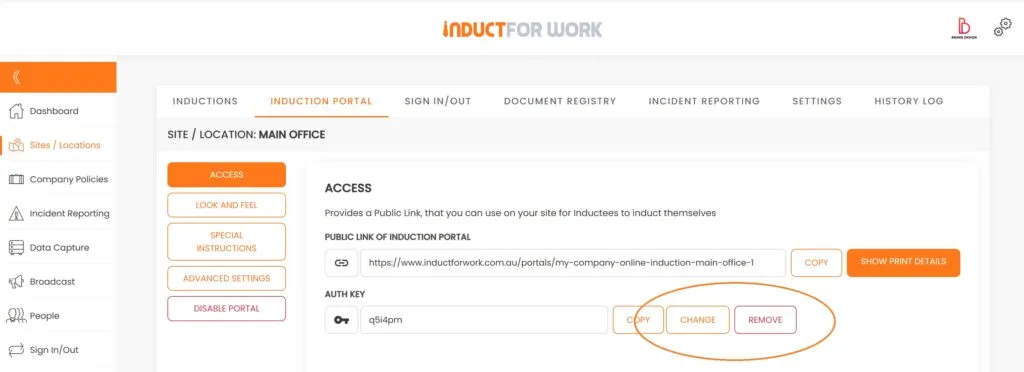
Let’s return to our Admin Portal to explore additional options available.
Here, we find options to Change and Remove the Portal auth key, which is a password. This auth key serves as an extra layer of security, requiring all users to enter it to access their inductions.
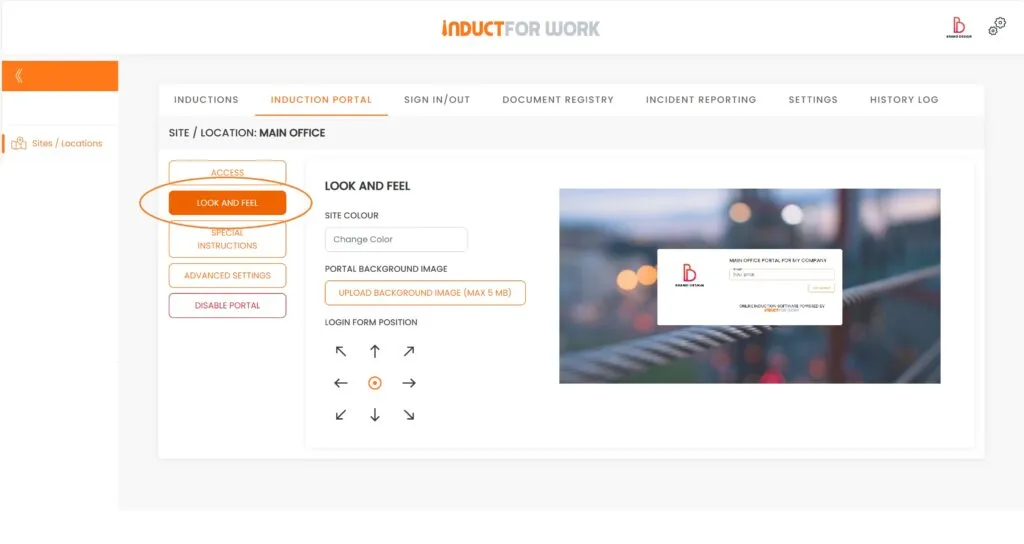
Clicking on ‘Look and Feel’ reveals new customization options, allowing us to alter the site color, update the portal background image, and adjust the login form position.
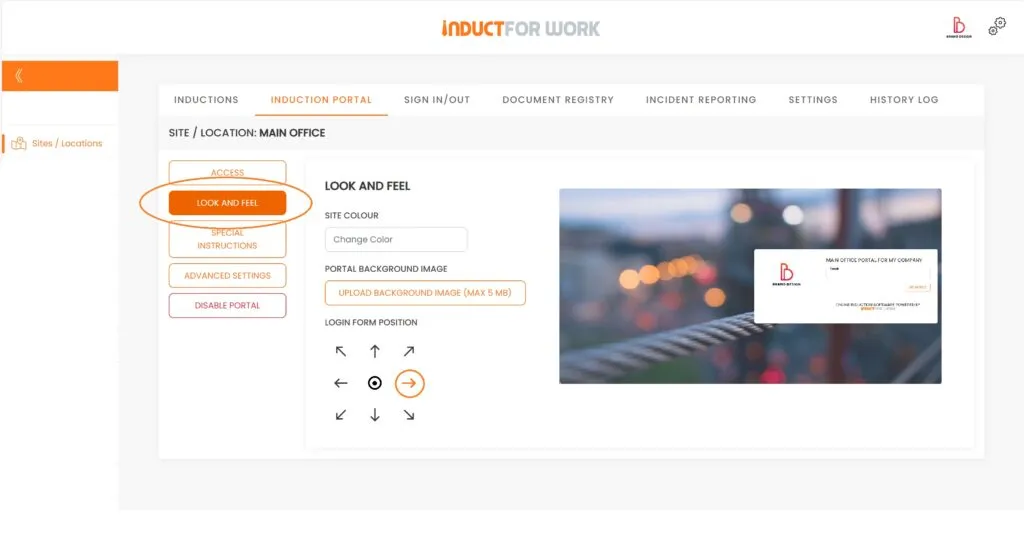
After updating the colors and portal image, you might want to reposition the User Login Form. Clicking on the Right Arrow will show that the Login Form has been moved to the right side.
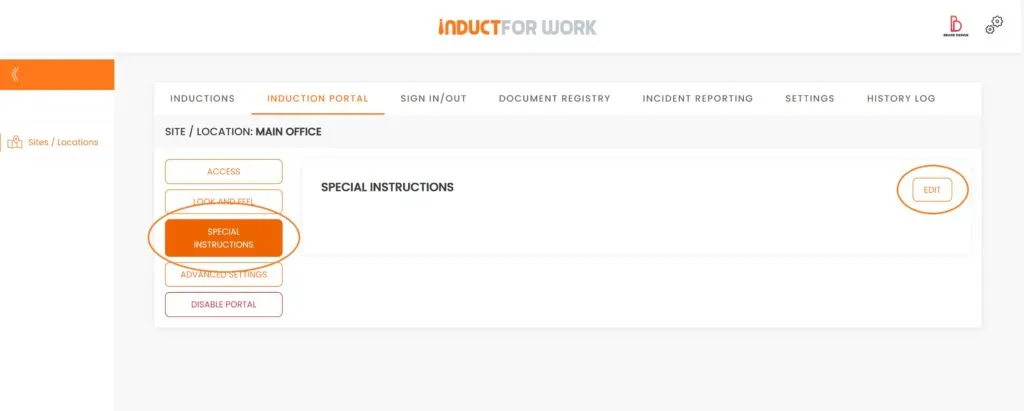
The ‘Special Instructions’ feature enables you to present any additional instructions to your users while they are in the Portal. To see how it functions, we will add some text by selecting ‘Edit’.
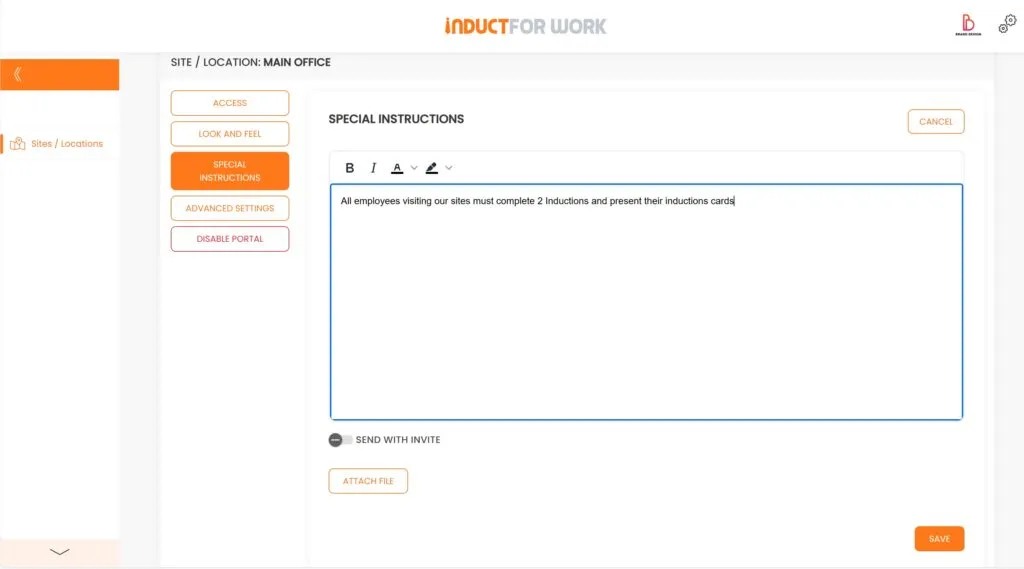
After adding the text, click ‘Save’. If you want this text included in Manual Email and SMS invitations, which will be discussed in later sessions, ensure to activate ‘Send with Invite’ as well.
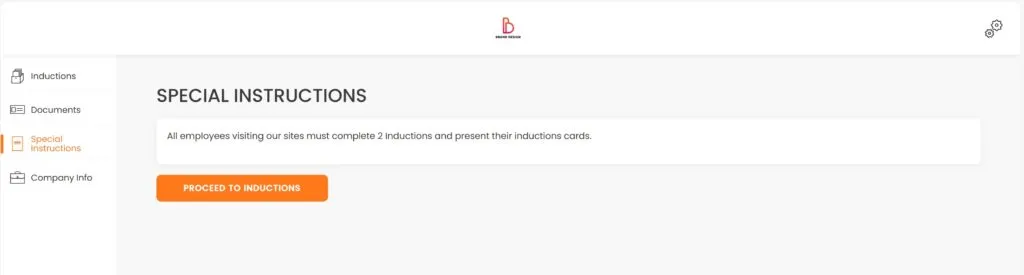
The users would see the following:
Here are some advanced settings:
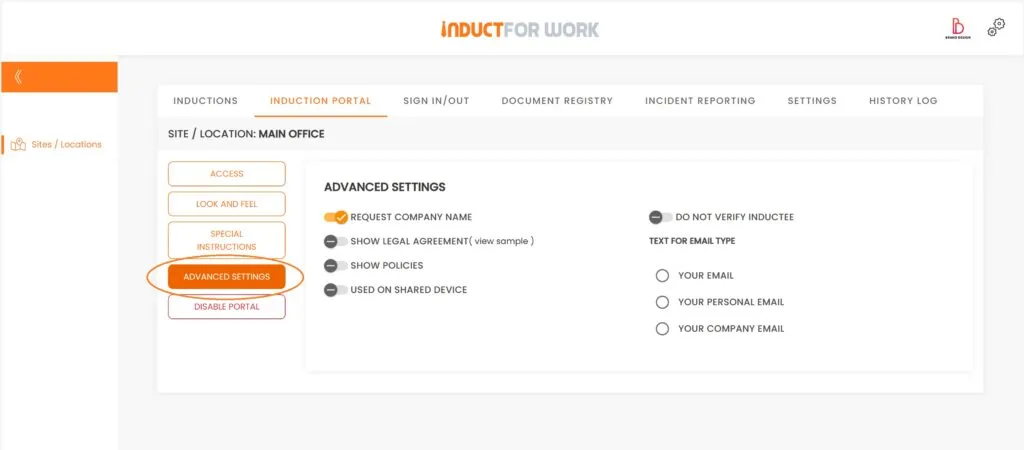
When ‘Request Company Name’ is activated, users are prompted to enter the name of the company they work for during registration on your portal.
‘Show Legal Agreement’ displays a warning that document falsification is a crime, serving as a deterrent for users completing induction courses on behalf of others.
‘Show Policies’ presents your policies to the users.
‘Used on Shared Devices’ feature automatically logs out users after they complete their induction. This is particularly useful if you use an iPad or a laptop as a kiosk at your facility, such as at the reception or in the training room. Once a user is logged out, subsequent participants cannot view any data entered by the previous user.
‘Do not Verify Inductee’ eliminates the verification process that sends a notification to confirm the user’s email during the registration process.
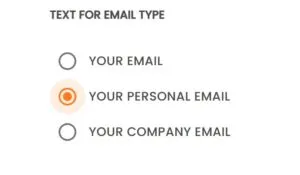
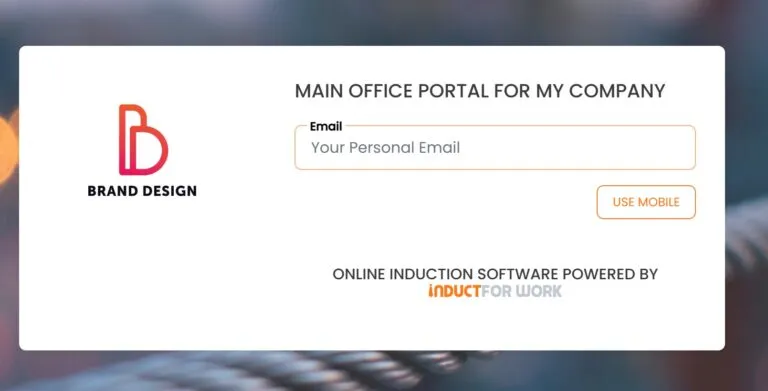
‘Text for Email Type’ displays the selected text within the email field.
Selecting the ‘Disable Portal’ option will revoke access for all users except administrators. While the portal URL will be deactivated, work on Induction Courses can still proceed.
This brings us to the end of this Training Session. Please continue to Session #9 to learn how to activate Multiple Portals. Thank you.