6. Document Collection
Licences and Permits
Most organizations are required to gather and track various compliance documents, including licenses, insurances, and permits. These can be collected upon completion of any induction process. This functionality is referred to as ‘Licenses and Permits’ and can be configured in multiple ways. For instance:
You might opt to collect certain documents from your contractors after the Contractor Induction, while your employees may need to submit a different set of documents following the completion of their Employee Induction.
The following is an administrative view of the setup for Public Liability Insurance, Driver’s License and Trade License.
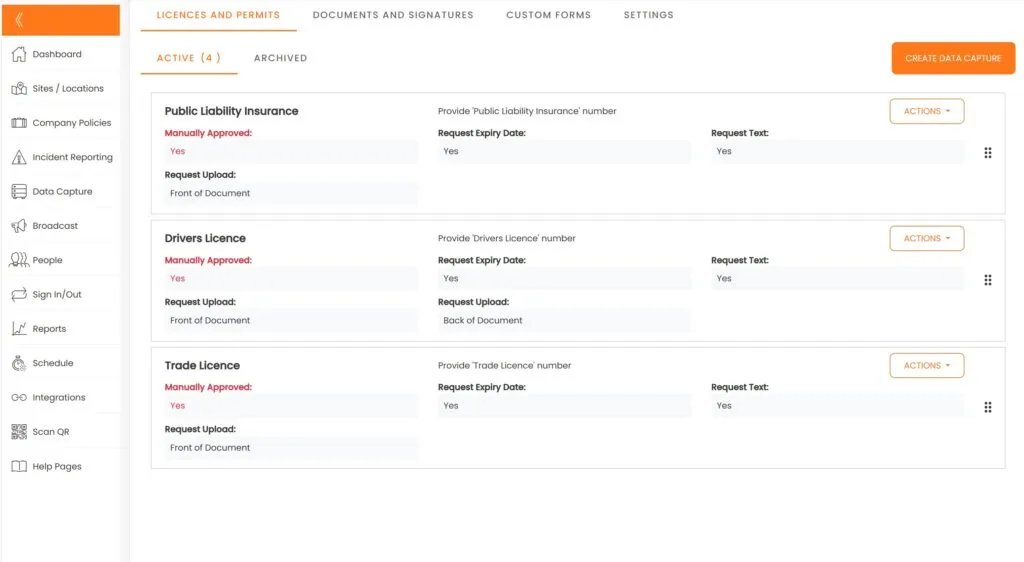
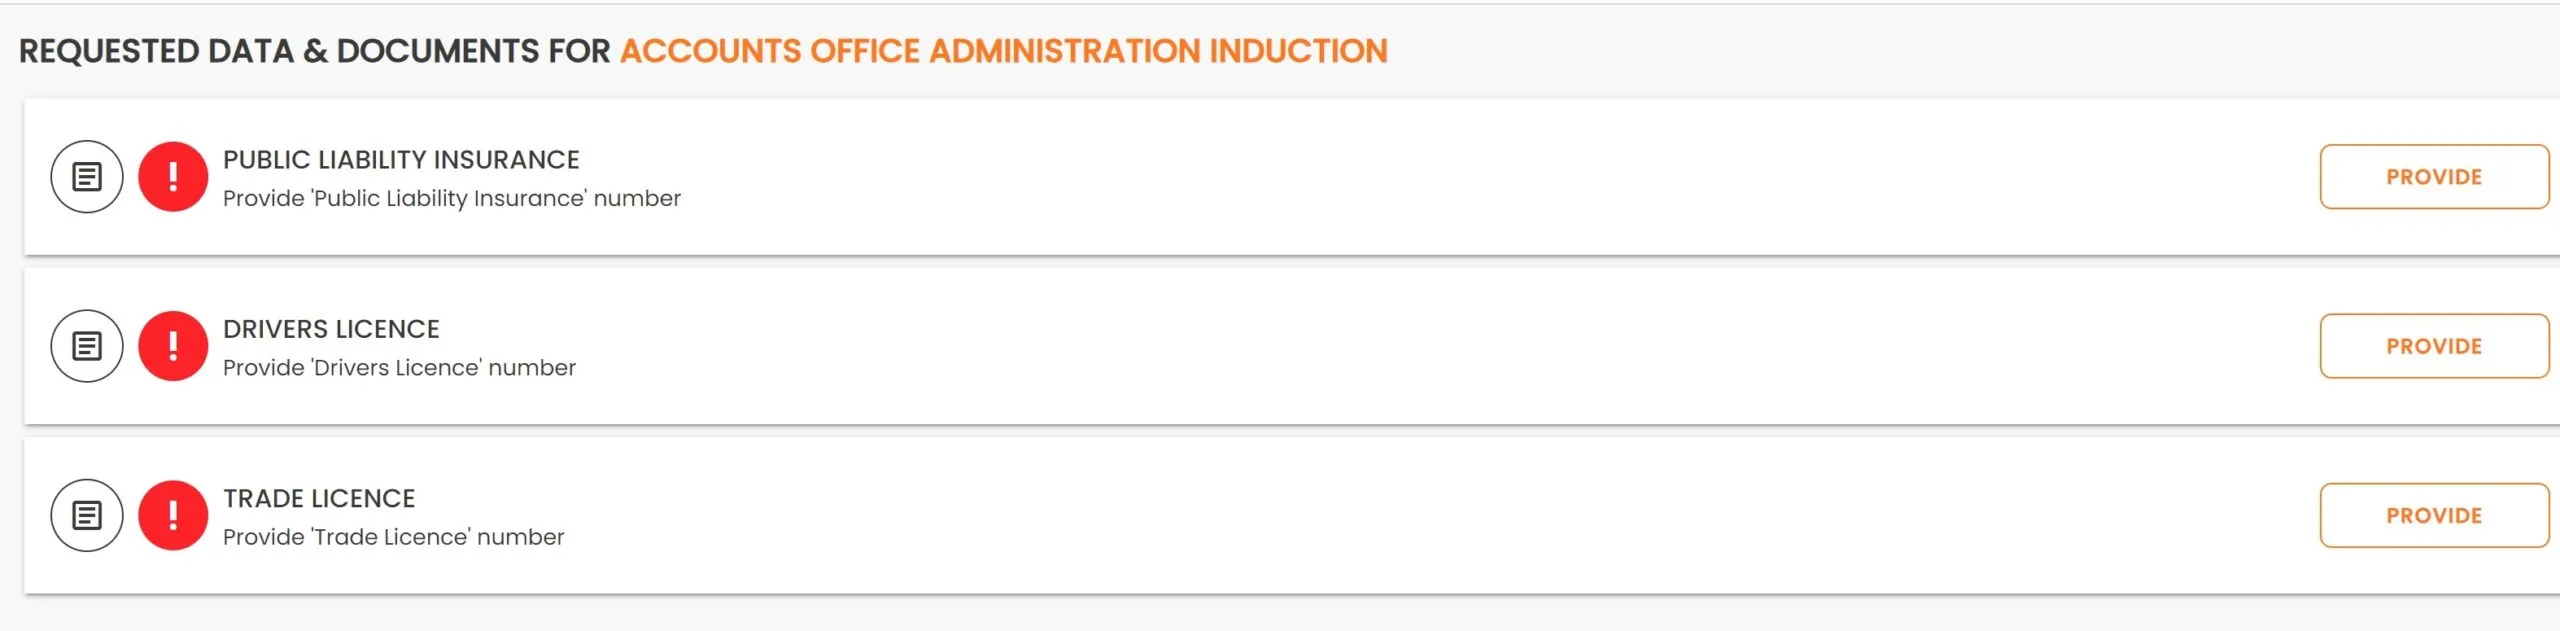
Users are prompted to provide documents as per your request
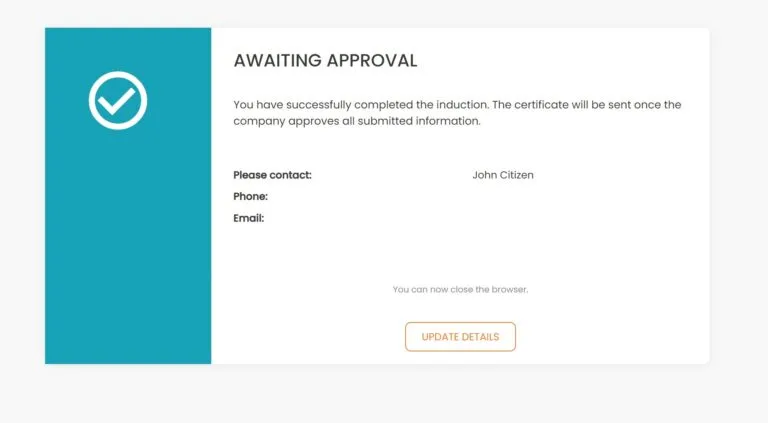
Upon submission of all required documents, your administrators will be notified by email to approve or reject the documents.
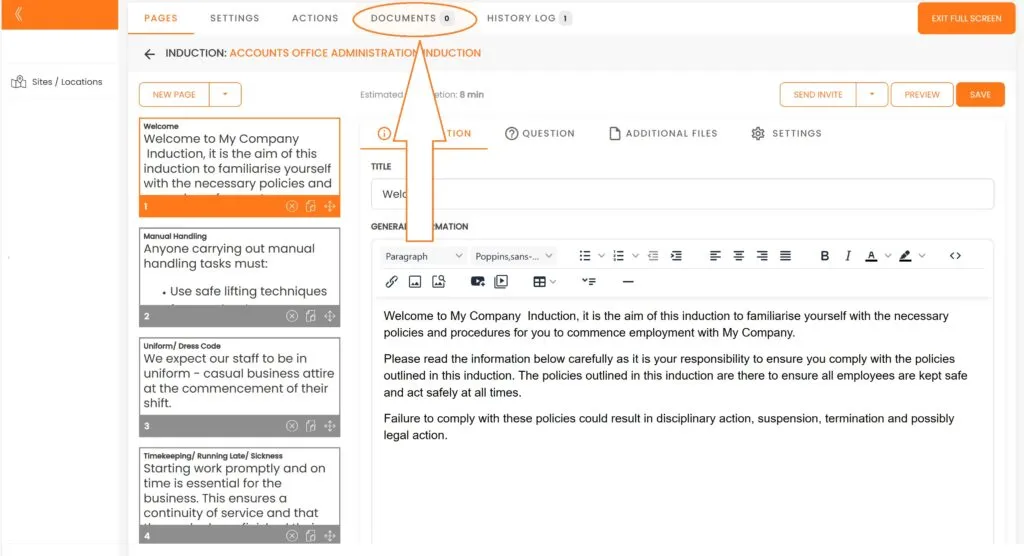
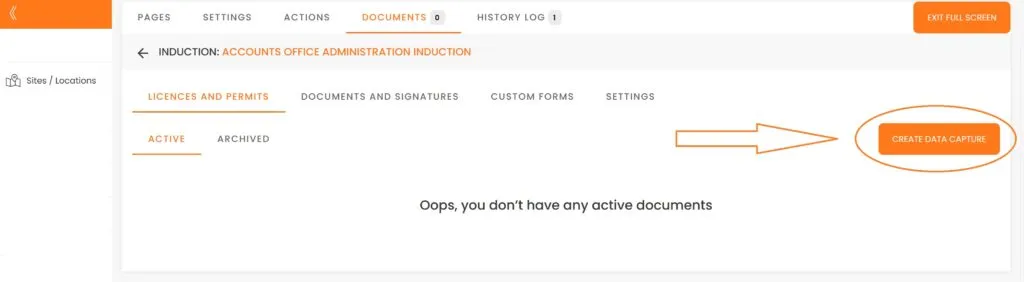
Let’s dive in and setup our ‘Licenses and Permits’ collection. Navigate to any of your Induction Courses and select Documents.
We are now going to create a new Data Capture in the ‘Licenses and Permits’ section. Please click on the ‘Create Data Capture’ button.
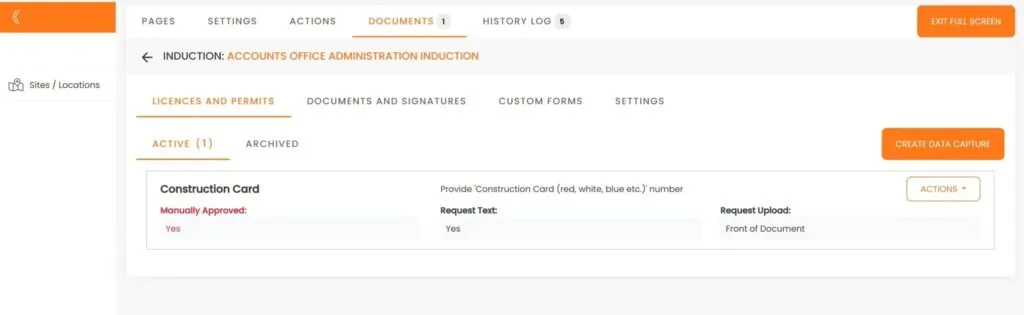
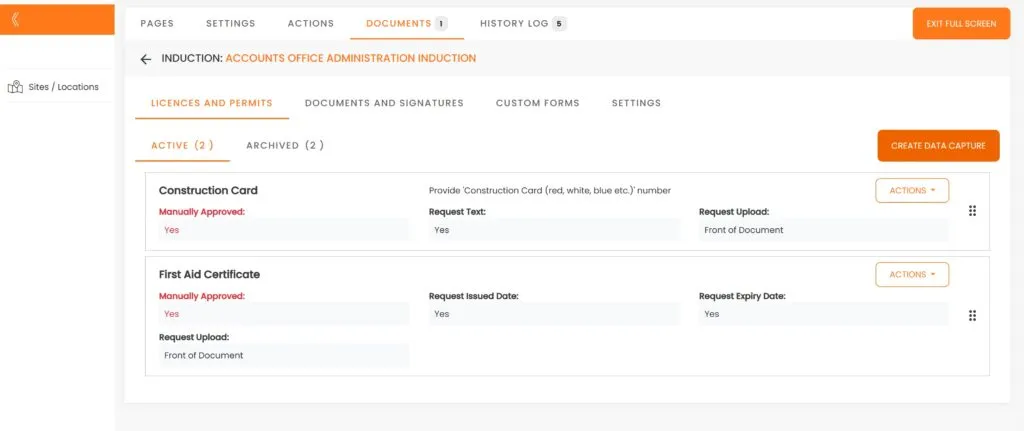
Click on the drop-down menu, choose ‘Construction Card’ or another type of document and then select ‘Manual Approval’.


Well done. You have successfully created your initial Document for Collection within the Accounts Office Administration Induction.
Now, let’s add another document to our list: the ‘First Aid Certificate’.
Click on the ‘Create Data Capture’ button, then select the ‘Document Type’ arrow.
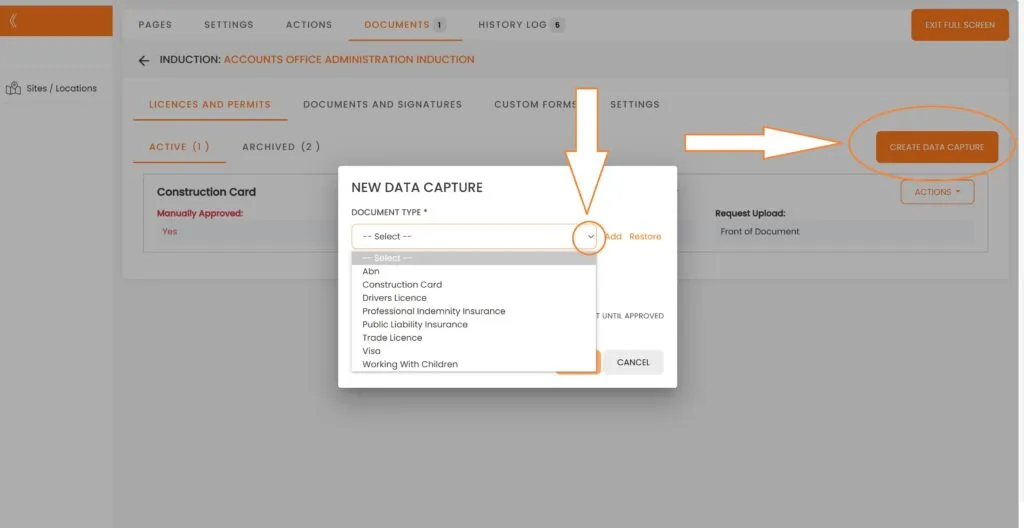
You will notice that a ‘First Aid Certificate’ is not available from the dropdown list of our templates. We would need to create our own template, and to do this, we would need to click on ‘Add’.

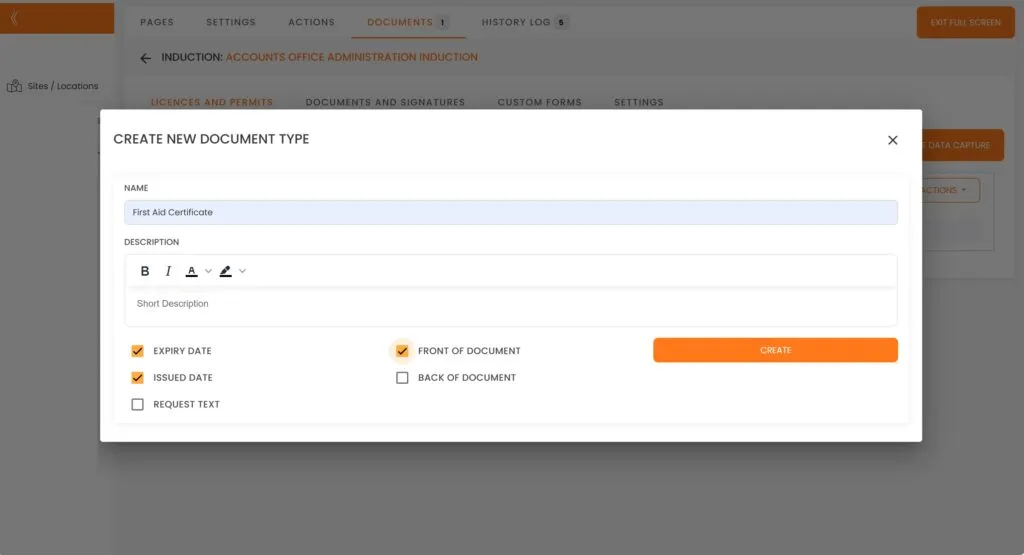
In the name field, enter ‘First Aid Certificate’. We are also going to capture the issue/expiration dates as well as we are going to request the upload of the ‘Front of Document’. Then we click on ‘Create’.
We have now created our Template First Aid Certificate. Next, we should mark it for Manual Approval and then click on ‘Add’.

The two documents are now ready for collection.
Documents and Signatures
This feature allows you to convert any form to an editable form. Editable forms are then attached to inductions and can collect e-signatures together with other information. It is an add-on to any available subscription plan.
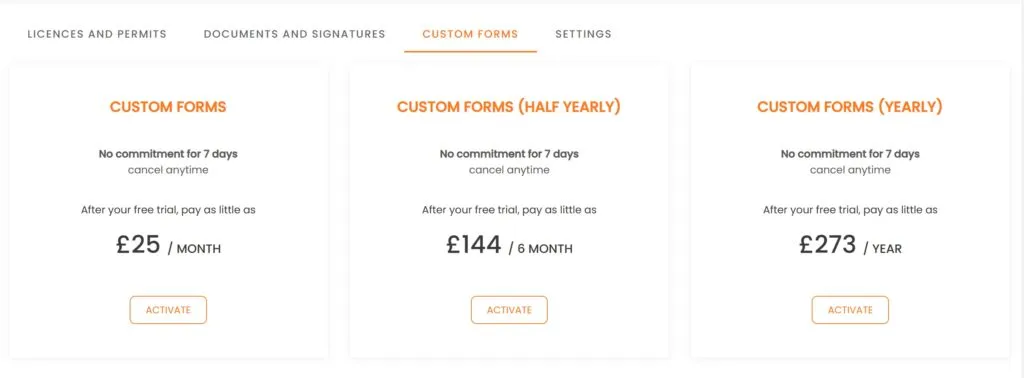
Let’s have a look at the cost and how it works. There are 3 plans available, monthly, six monthly and annually.
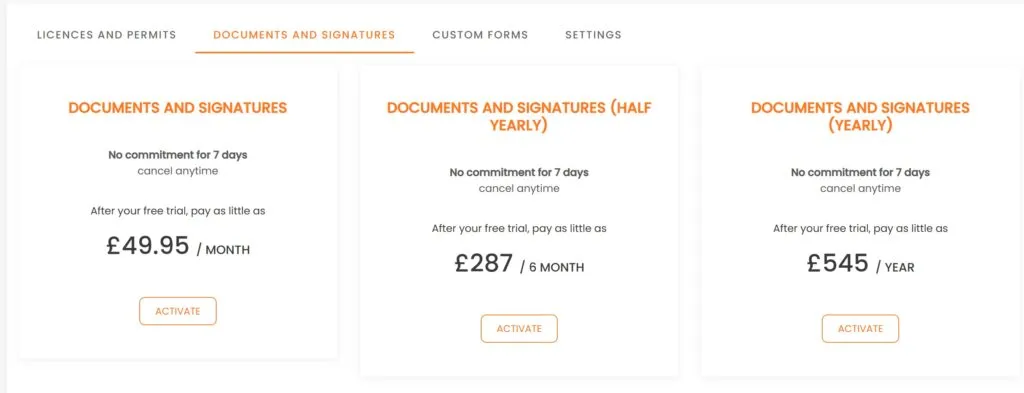
Say you would like your new employees to fill out your company pre-employment. Let’s go ahead and activate our free trial.
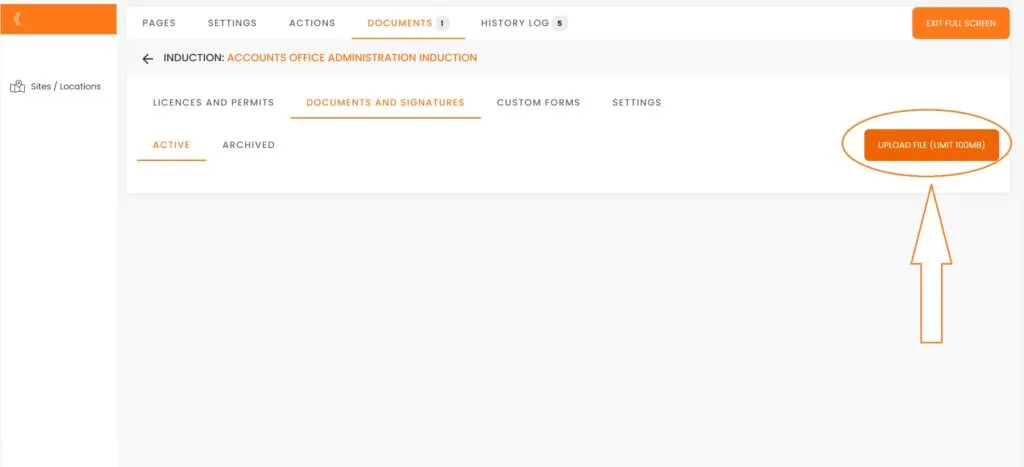
Then click on ‘Upload File’ and select your form in PDF.
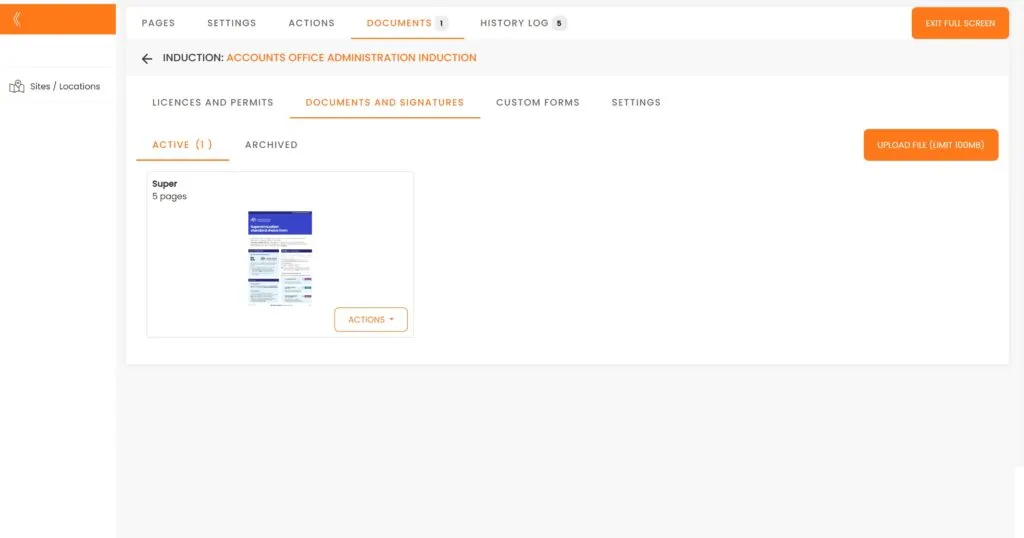
After a few moments your form will be uploaded to the system and now we have to edit it, to show our users which areas need to be filled out. Click on the file.
We are going to click on ‘Input field’ and drag this field over Full Name area.
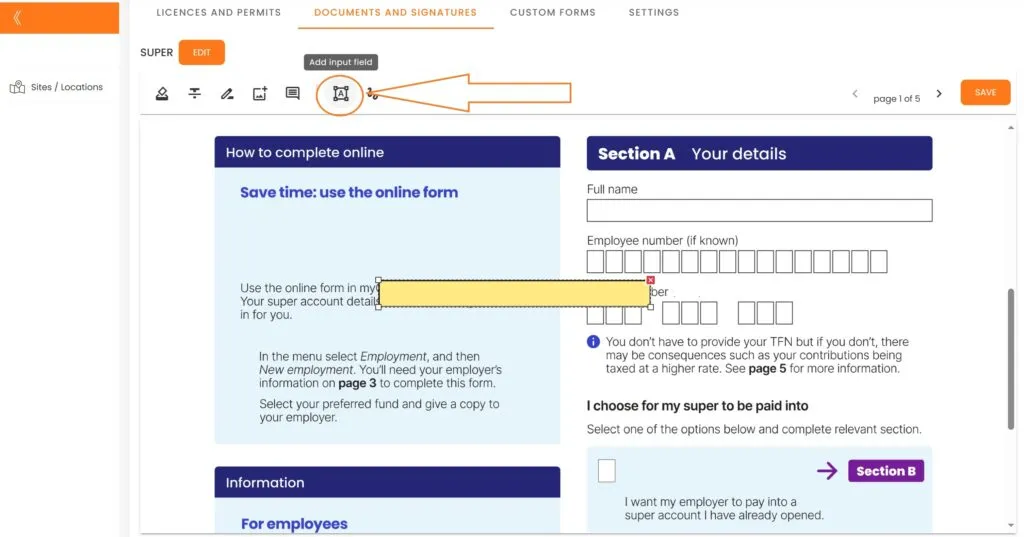
Adjustments to the size may be necessary for a perfect fit.
Certain fields could be designated as mandatory, while others may be left as optional.
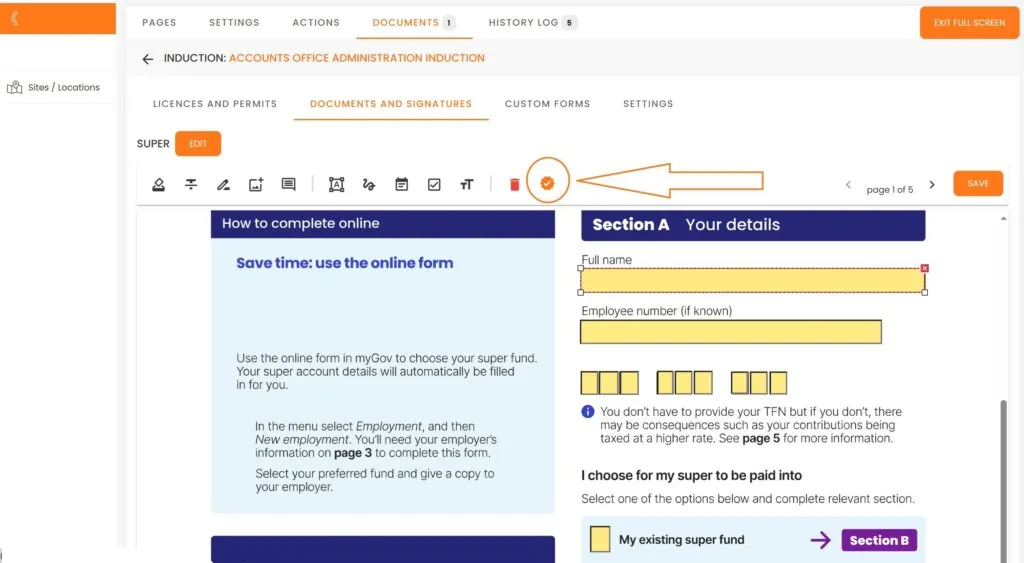
You can add multiple documents to any induction. To continue adding more documents, click on ‘Upload file’ and repeat the process.
If you are short on time and need to get this (or any other function) operational almost instantly, please contact us for assistance.
Custom Forms
Next, we are going to expolore another feature: ‘Custom Forms’. This feature is also available on a monthly, six monthly or annual basis.
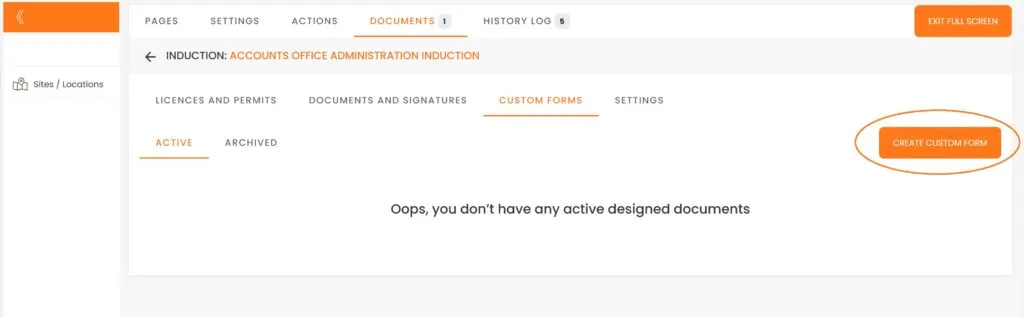
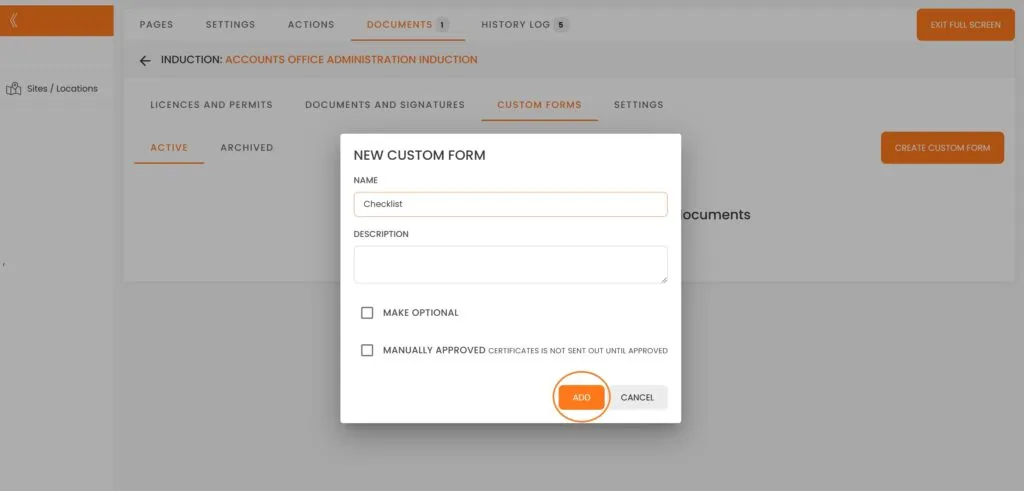
Once you activate your Free Trial Custom click on ‘Creare Custom Form’ button.
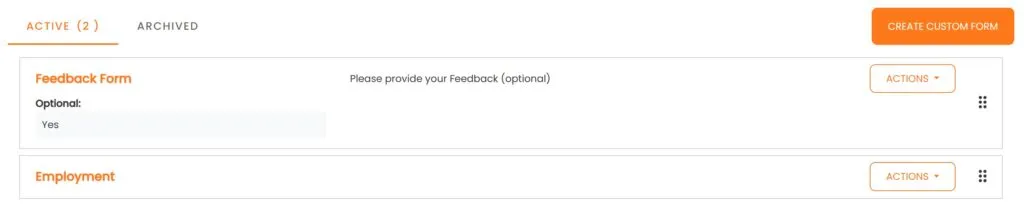
- We will name our form “Feedback Form,” set it as optional and then click ‘Add.’
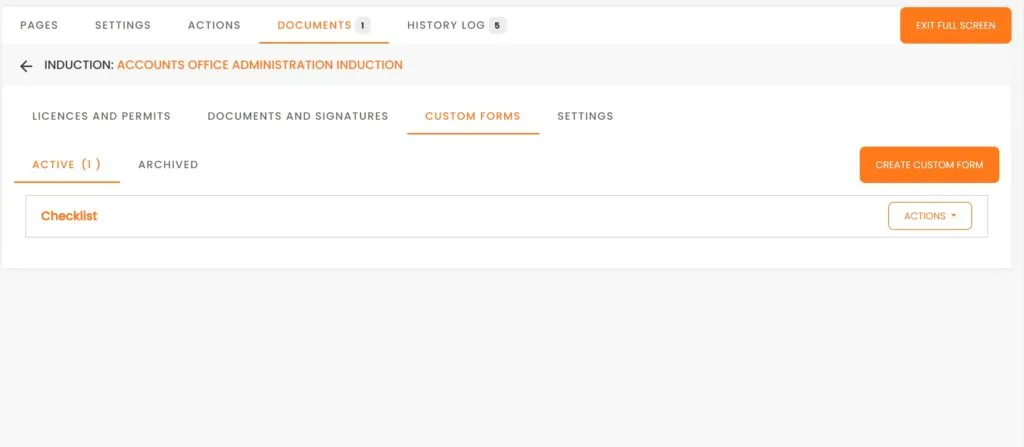
An empty form has been created. Click on the Feedback Form to proceed.
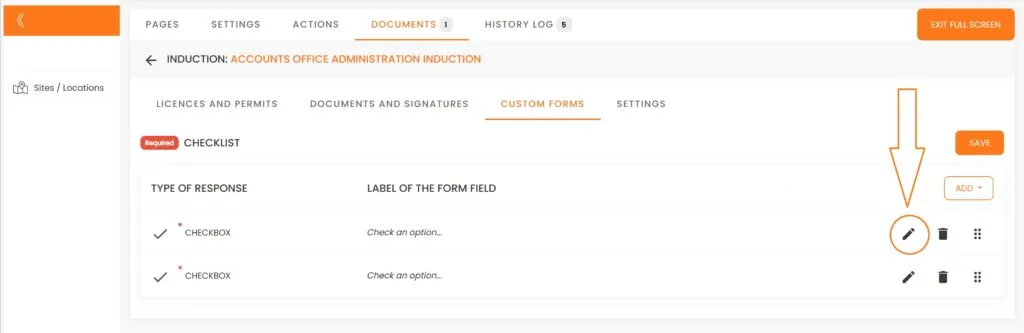
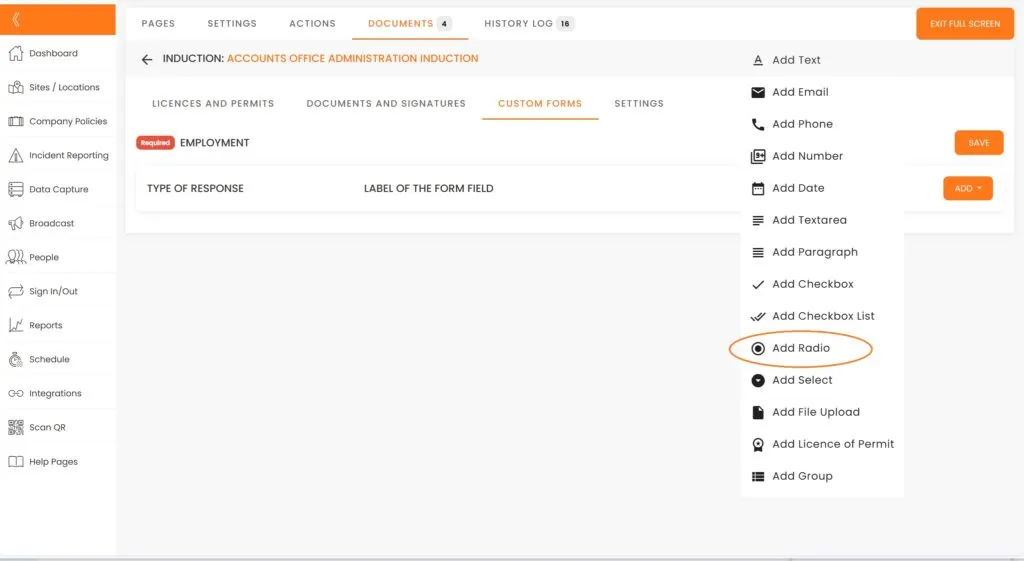
Click on the ‘Add’ button and select ‘Add Radio’ from the dropdown menu.

Now let’s edit it by clicking on Pen icon.
In the LABEL field, enter: “How would you rate your induction experience?”
For Values (answers), input: ‘Excellent’, ‘Good’, and to add another Value, click on the (+) option and type ‘Needs improvement’.
Then, click the ‘Update’ button.

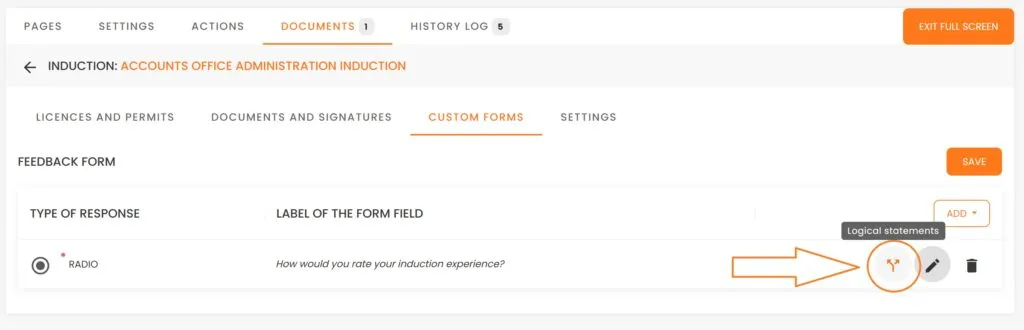
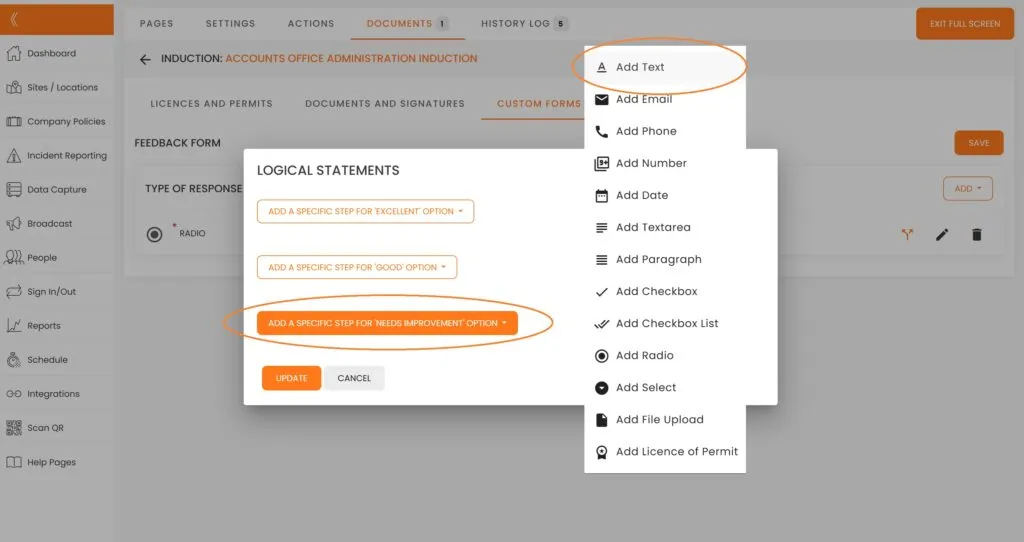
If you would like user to provide their feedback if they think Induction needs improvements we need to go to ‘Logical Statements’
Now we are going to ‘Add a Specific Step for NEEDS IMPROVEMENT Option’ by ‘Add Text’ to it
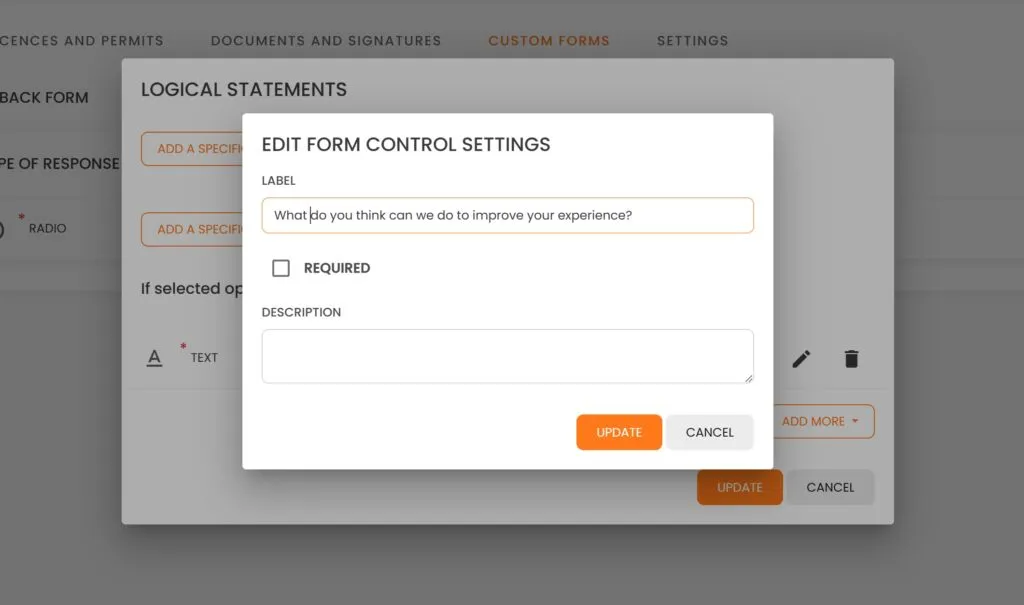
Click on Pen icon

In the label area, enter: “What do you think we can do to improve your experience?”
Make this question optional, allowing users the choice not to answer. Then click on ‘Update’.
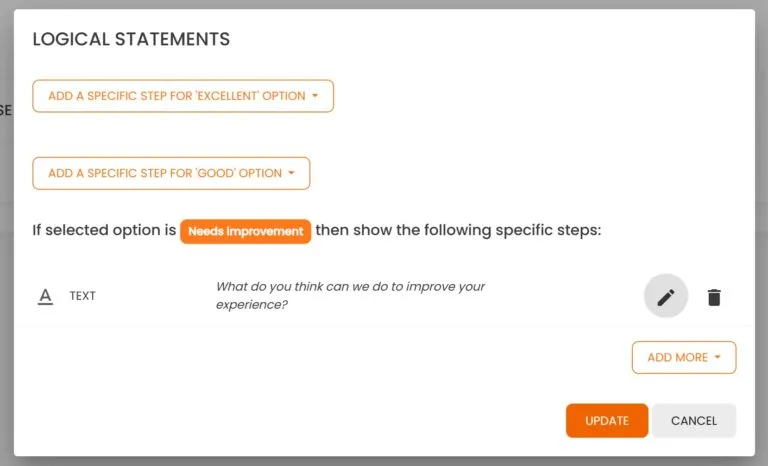
We are not going to add any more Logical Statements or Questions and we aree going to confirm our selection by clicking on ‘Update’ once again.
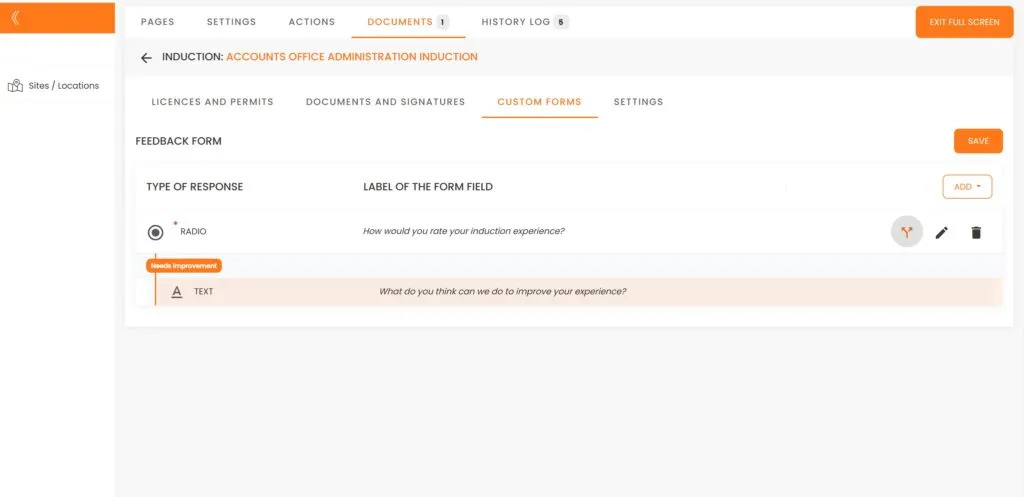
We have completed the setup of our initial Feedback Form.
Please ensure to click the ‘Save’ button to store the form.
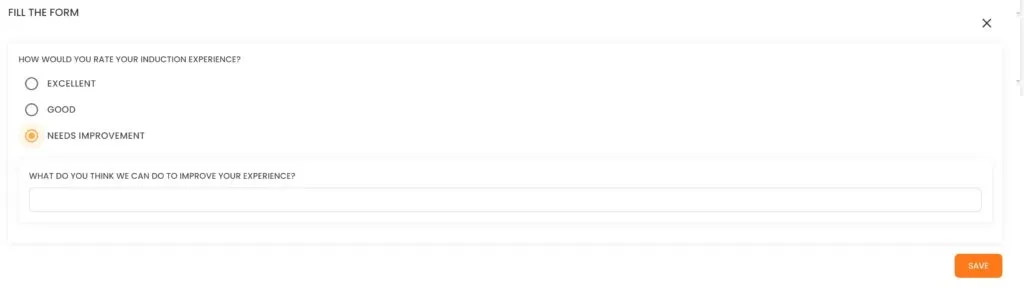
Upon completing their induction, your users will be prompted to offer feedback. This is how it will appear to your inductees.

Next, we will create an additional Form Sample designed to collect one document from our Employee and another document from our Contractor.
Navigate back to Custom Forms and select ‘Create Custom Form’.

Once the Employment Form is available, we will click on it.
We will add a ‘Radio’ button and then click on the Pen icon after it has been created.
Label the form as “Select Your Employment Type” and set it to “Required.” In the Description area, enter “Please select from the following options:”
For the values, input “Full-time” and “Contractor.”
Finally, click “Update” to save the form.

Now we need to create two conditions for our employment types:

We are going to ask for ‘Add File Upload” .
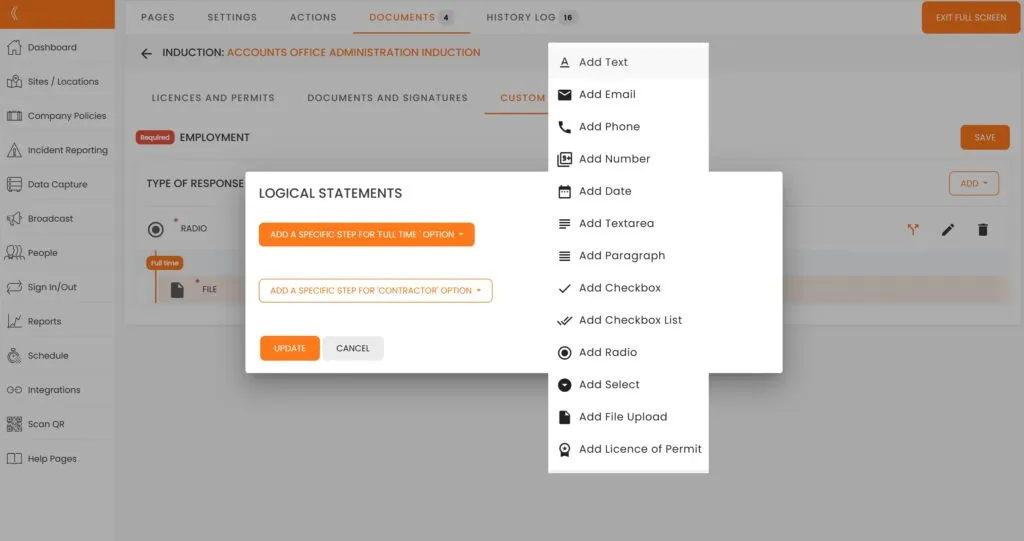
In our Logical Statements, click on the Pen icon and enter the document you are seeking from our full-time employee.

To proceed, select ‘Upload your Bachelor of Education’, then click ‘Update’, click ‘Update’ once more, and finally click ‘Save’.

Similarly, we can set up a different document upload or multiple uploads from our contractor.
If you are short on time and need to get this (or any other function) operational almost instantly, please contact us for assistance.
The final area we need to examine is referred to as Settings.
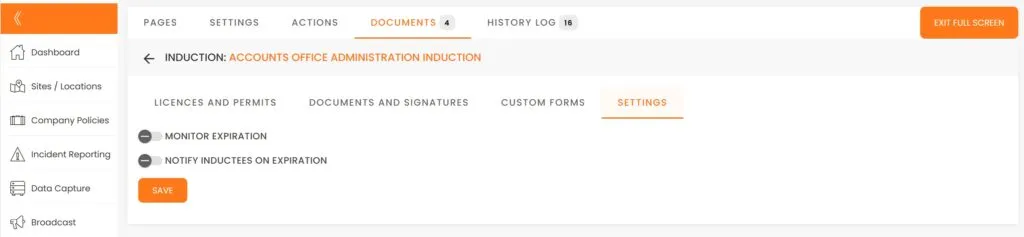
To have the system monitor document expiration dates and alert your inductees as their documents approach expiration, enable these two options and click ‘Save’.

This brings us to the end of this Training Session. Please continue to Session #7 to learn about Company Policies. Thank you.